
Git as the Core of the Development Process
Understandably, with so many massive projects behind us, our customers often wonder how exactly we manage our source code and if our version control processes will be compatible with the ones they are using. So with this in mind, in today’s article, we would like to delve deep into Git, a widely used version control system that is the core of our development process.
What is Git anyway?
If you’re asking yourself “what is Git?” then this article may not be for you. But not to worry! Feel free to check out Software Planet Group’s overview article on Git and Gitflow, as it should provide you with a solid basis to understand this incredible tool. Otherwise, get ready for the technical exploration ahead.
What is the best Git branching model?
While some are fully convinced that the purest Gitflow is the best Git branching strategy, in reality — at least ideally — how we work with Git should mirror our own development needs. For this reason, the answer to this question will vary widely depending on your team.
How to use Git as a solo developer
If you are working on a simple project that requires a single developer, then a simple main branch with a straightforward history of commits could potentially be more than sufficient. This approach is sometimes called a “single trunk”. In September 2020, the development community supported the initiative to rename the “master” branch to “main”. We’ll use the newly adopted term in the rest of this article.
For small teams
For smaller teams of just two developers, a single trunk approach would likely still work. For example, we often do short commits to the same main branch with occasional checkouts to sync with our teammates.
On the other hand, for slightly larger teams of 2 or more developers, then it would probably be better to go with some branching instead. As a result, each teammate should fork from the main to a so-called feature — or bug-fixing — branch, and apply as many commits as needed before merging it all back to main.
For large teams
When working with an able-bodied team of developers, there are a couple of different ways that your Git process might take shape.
With simple branching and merging
A larger team will give you more options, and the first of these is to do some branching. When different team members work on different features, for instance, it is sometimes better to isolate the feature code into an individual branch, and make all the changes in that branch until the feature has been duly implemented (or an issue has been resolved, in the case of bug-fixing).
Before merging our final changes back to main, keep in mind that it is essential to synchronise the “branched” source code with the rest of the codebase, which means merging from the main to our feature branch.
A branch name, of course, can be anything you like (including numbers), but if your team is committed to a specific task, it may be useful to identify it as such: “pr-42”, “239-photo-upload”, etc.
Finally, remember to delete any previously merged or deprecated branches, as it is never easy to navigate through the thicket of unused branches, especially when no one remembers what they were actually for in the first place (i.e. what is currently a work in progress, what is outdated due to replanning and what should not be even considered).
A simple branching example
Let’s look at the following example: a small team of two developers have just started working on a brand-new project. After creating an initial baseline, they decide to split ways in order to focus on two features in parallel.

In this way, before merging anything from his own branch back to the main, he synchronises the code (by receiving commit E), resolves any conflicting changes and prepares his final commit F:
With a simpler and cleaner history log
A team may wish to avoid having excessive merging commits and other complex flows when checking the repo history. In this case, at least two options are possible here.
The first of these is to rebase your feature branch commits on top of “mainstream”, and as a result achieve a straightforward timeline. This will be free of weaving branches and scattered merges, but be aware that if you do rebase, you get incorrect history in terms of time, so an older commit may go above a younger one, for instance. Each approach will always have its own pros and cons.
A trick with rebase
Going off of our previous example: let’s review a changed scenario for steps 3 and 4, that would help to greatly simplify the commit history. More information on rebase command can be found here.
This will graft feature-branch-1 from commit B to E:

A trick with rebase and squash
The second option would be to squash all your feature branch commits into a single commit which would depict all the final changes that you would like to merge into the main branch. These commits should ideally include history logs registering task or bug IDs to help programmers keep track of everything. The history log should of course be short and clean, but because commits are often huge, not all tasks can be easily broken down. This is because we usually think of a simple amount of work, not a simple diff during the planning process.
In fact, especially when dealing with open source projects, no one is interested in a developer’s individual commits and struggles, only the final patch will hold a measure of importance.
At the same time, however, be aware that if your team’s development process allows for working on considerably large tasks, this will definitely lead to huge squashed commits, and it will be harder to find commits responsible for pesky bugs which could have otherwise been found with a “git bisect” command.
Lastly, rebasing with or without squash will demand more skilled team members, because altering the repo history could also lead to losing important bits of code (though of course, this will usually entail extraordinary circumstances as well). In essence, therefore, there is no way to go back to the original history of commits, and this will thus require additional care — pros and cons, as mentioned above.
Let’s illustrate the “rebase with squash” concept. Our steps 3 and 4 will now change as follows:
With code review
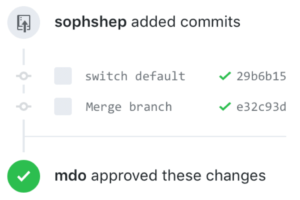
Very often, your team will also want to utilise the code review practice, and it will thus be agreed among team members not to merge to mainstream without first reviewing the code. In this case, additional tools may prove extremely helpful, such as GitHub’s Pull Request mechanism, GitLab’s Merge Request approach among others. These will each come with their own respective UIs to examine diffs, add comments and more.
This is how it’s illustrated on GitHub’s official website:
Best Git practices for Continuous Integration
In this day and age, we often insist that each push to a repo should immediately trigger our code to build and test. After all, making use of continuous integration should not change your workflow with your software repository — instead, it should only seek to improve it. This is why all modern tools such as GitHub, GitLab, and others provide support for CI/CD practices. By adhering to the practice of pushing changes as early and often as possible, developers can also be notified as soon as a bug or other issue arises, a feat that could not be accomplished with more traditional approaches. This paired with innovative tools which support blocking merges with failed builds or tests can help developers stay on top of bugs and teams to move at a much faster pace.
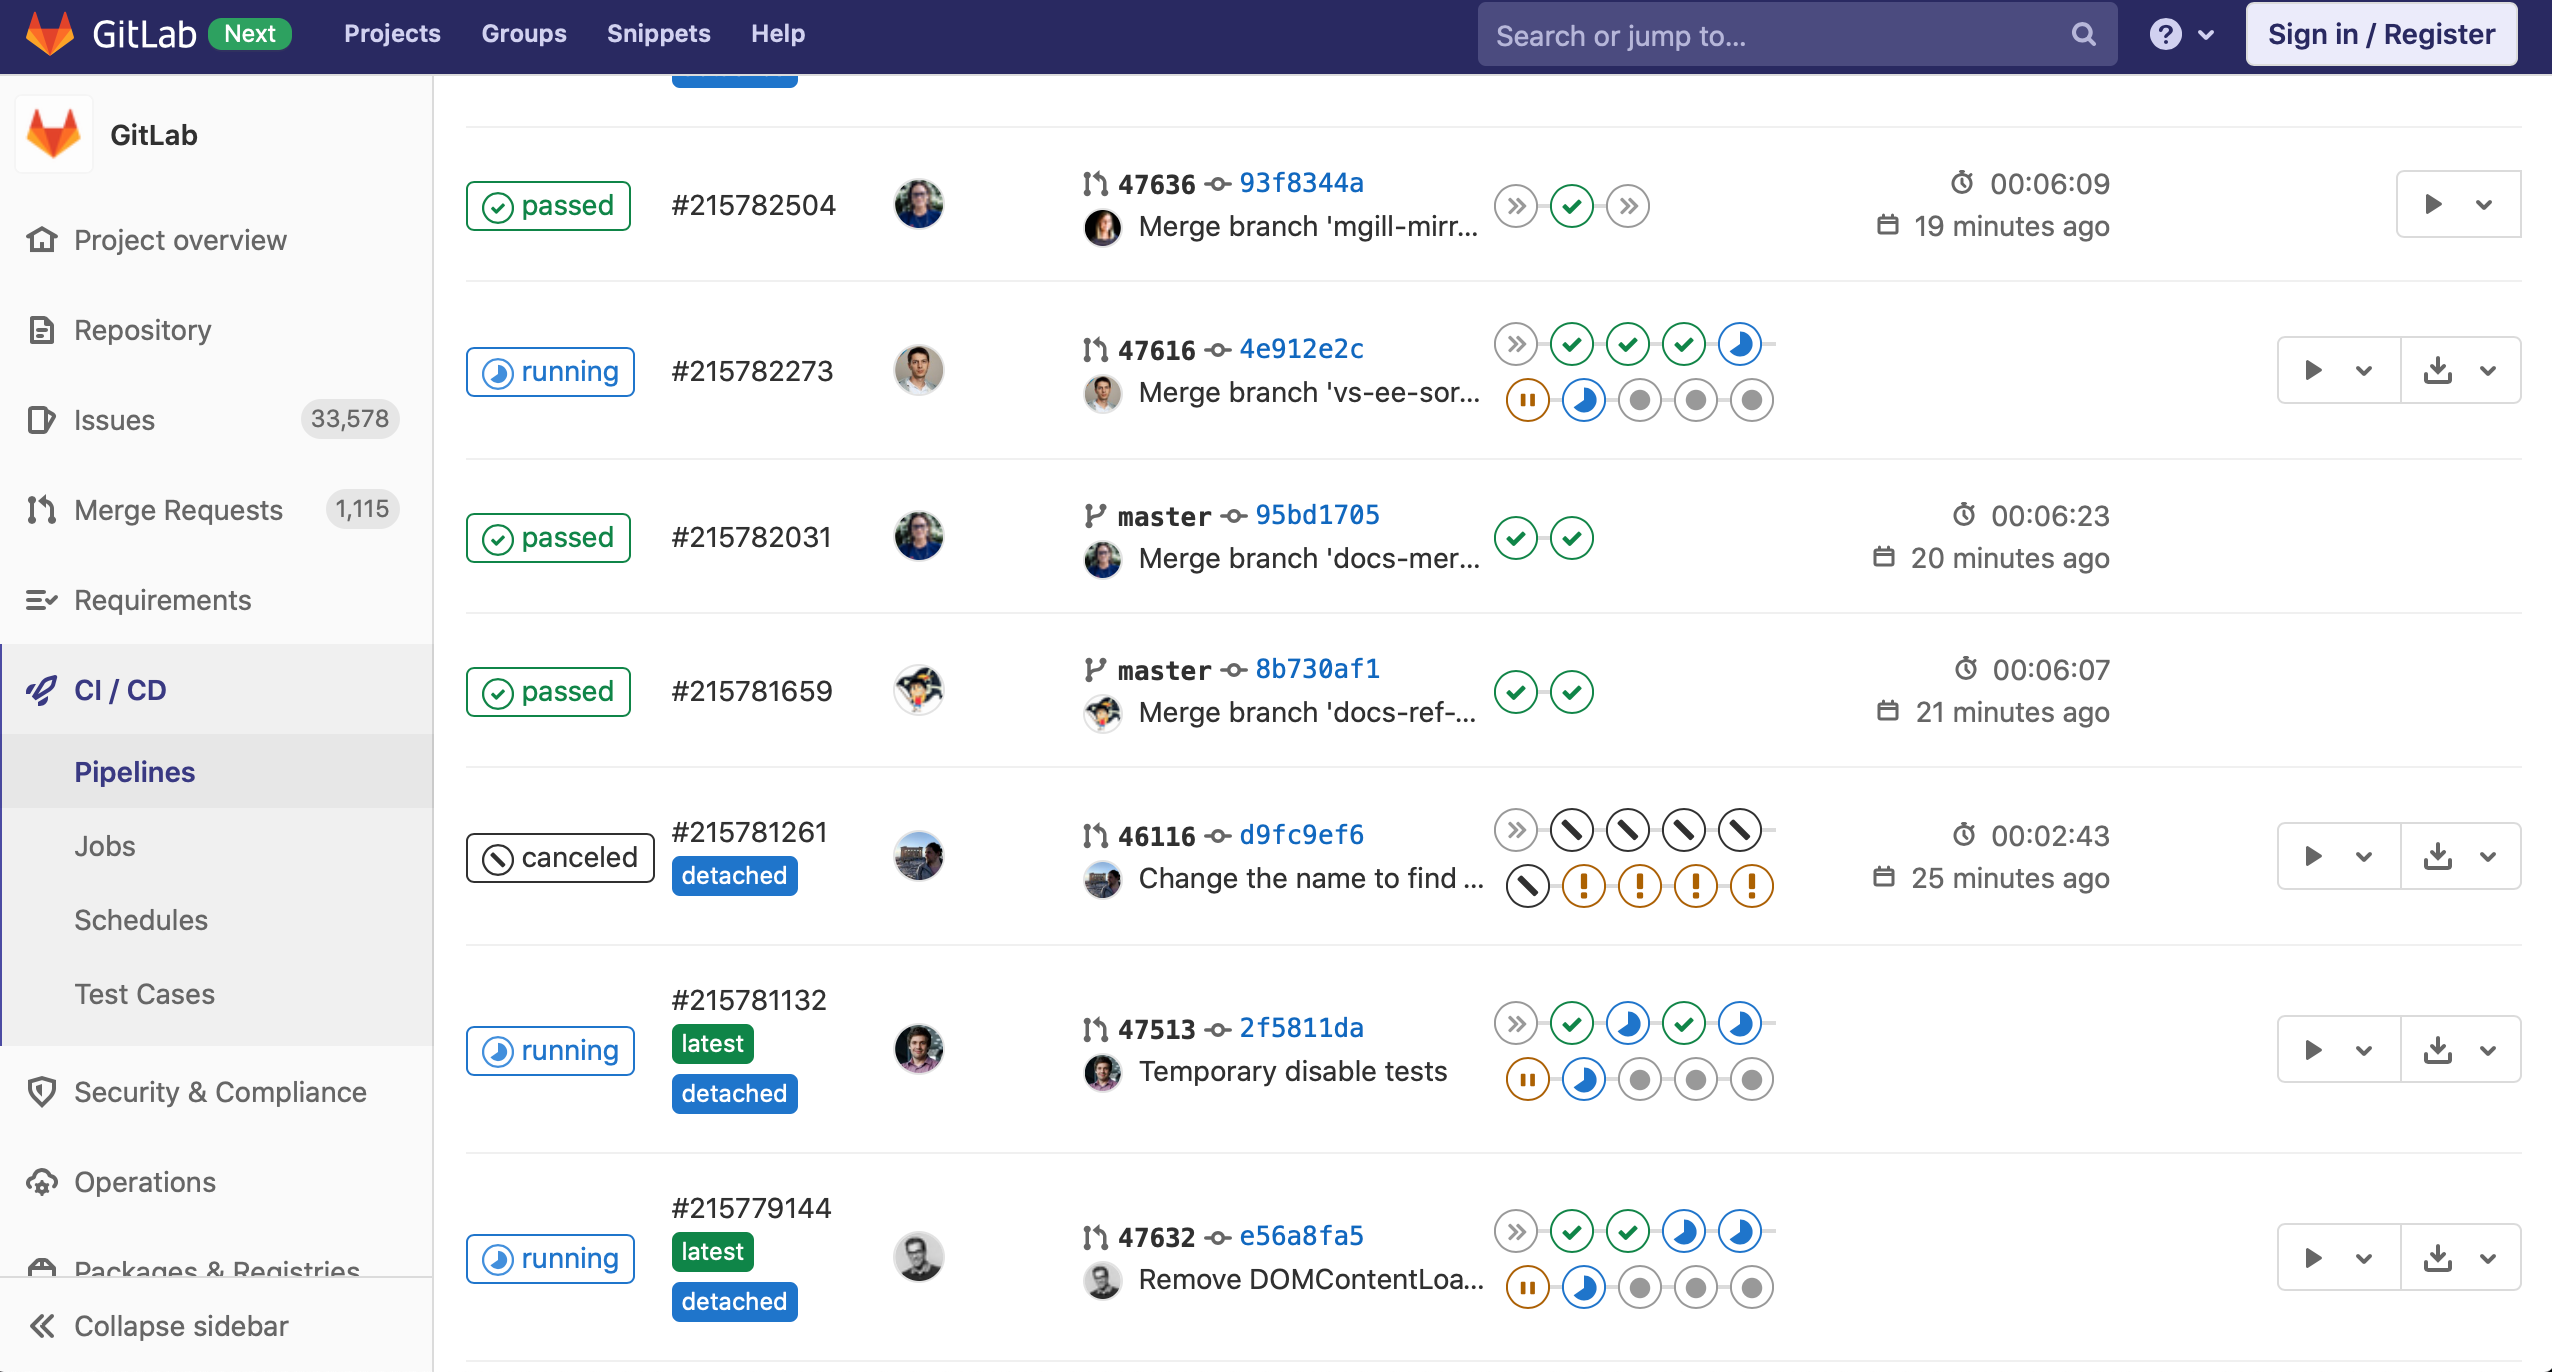
This is an official pipeline example from the GitLab service:
A Git branching strategy for continuous delivery
When using Git as one of our main communication tools, it’s not unusual to use the “push-to-deploy” method, as it requires a single push to trigger deployment to a live environment — be it dev, staging, QA, SIT/UAT, production, you name it. For simpler projects, for instance, this could easily take the form of two special branches (e.g. “staging” and “production”), so whenever you’d push to either one of them, you’d automatically instruct your CI/CD tool to deploy code to the respective environment.
As an example, in the case of GitLab, this simply means adding instructions to a .gitlab-ci.yml file to inform a branch what it should do instead of following the usual procedure. One of our main tips here would be to push to these branches only as a fast-forward merge of existing commits from the mainstream, or in other words, because the commit passed the build & test pipeline before, runtime executables and/or container images should already be prepared and tested, and fully ready for the live environment. This means that what is left is just a matter of deployment.
Again, should this be the case, our code hosting tools will add further usability. GitLab, for instance, has an “environment” feature, where we add pipelines for these special branches (staging, production, etc.) as a deployment to a particular environment. Consequently, GitLab helps to maintain a history of deployment and we can even trigger deployments of previous versions.
Lastly, for more complex projects and additional access control or security, your team may also decide to use the code signing practice. This is where only correctly signed commits may be pushed to a live environment branch, as they would otherwise be simply ignored by the deployment mechanism. It is important to note here that it is expected that not everyone’s signature will be accepted. But any such additions to the development process would require another article to be discussed :).
Git tags and releases
Unsurprisingly, the fast-paced world of software development tends to favour no-tags and no-version, as we have all used these in the past. If we are talking about library development, however, then it’s important to utilise a version. In this case, we recommend giving semver a try.
If, on the other hand, you were to ask about web app development, because end users are not typically concerned with the current version, our applications tend to evolve like living organisms — though today it may have a bug, tomorrow this may simply disappear. Of course, this also does not mean that seamless deployments without any downtimes, on a 24/7 basis, are in any way a serious requirement.
For these and many other reasons, teams frequently employ the git commit hash (SHA1, or SHA2-256 in future) as a makeshift technical version, which means it will be understood by the development team only, and technically point to the commit used for build & deployment. This leads to far fewer mistakes when a teammate forgets to bump a version or mishandles a tool or a script that is intended to automatically do so.
Nonetheless, if for whatever reason, the marketing team insists on having some kind of release name or version, then it is better to keep the title non-technical, as this will shield your development process should they later change it for the benefit of end users.
How to get started with Git
To start things off, we would recommend beginning with a simple branching and merging approach. This should use a single main branch as a common “mainstream” for all team members, as it is the origin of all future deployments to live environment branches like staging and production.
Keep in mind that it is better to avoid altering the history log with squashing and rebasing initially, especially if your team is not currently bound to any particular policy or agreement. Should this decision not be clear at the start of development, it may later be revised individually.
Likewise, no matter how many developers you are working with, we would recommend adhering to the PR/MR approach from day one. After all, it is better to build processes around this system than to be forced to migrate everything to it later. Furthermore, in this way, even if each PR/MR is merged by its original author, it remains an open door for the code review practice to eventually be added to your project.
Getting started with CI practices is also essential from the very start, as this will shield you from spiralling technical debt from both a source code and infrastructural perspective. Truth be told, even if your team does not make use of unit tests (which it should), you can start with a simple pipeline running builds only, and later extend it with the ability to run unit tests, integration tests, and so on. If your project is based on Docker, then it might also be a good idea to go ahead and get started with Dockerfile, as this prepares a helpful runtime image.
While the CD practice would also be ideal to begin with, this depends on your individual requirements. For example, if you are utilising a Kubernetes cluster, you can use Kubernetes’ official kubectl CLI tool when updating images for your Kubernetes objects. Later, if required, you can add more complex functionality by making use of other appropriate tools.
Many code hosting platforms may also provide beneficial built-in functionality, including GitLab’s Auto DevOps feature. Of course, these ready-to-use features may not cover all your specific requirements, but how to deal with CD is another matter entirely, so it is vital to include CD practices as soon as possible.
And last but not least, when we say “from day one” we mean it! Remember that by following these simple tips, code errors and other issues can be dealt with much sooner than in other approaches. In classic Waterfall methodologies, for instance, they might be spotted after deployment has come and gone!
But with Git at the core of your project, you are empowered to make all changes with confidence.
Are you looking for DevOps support?
We'll be delighted to support your software development and DevOps initiatives.
Request a Quote